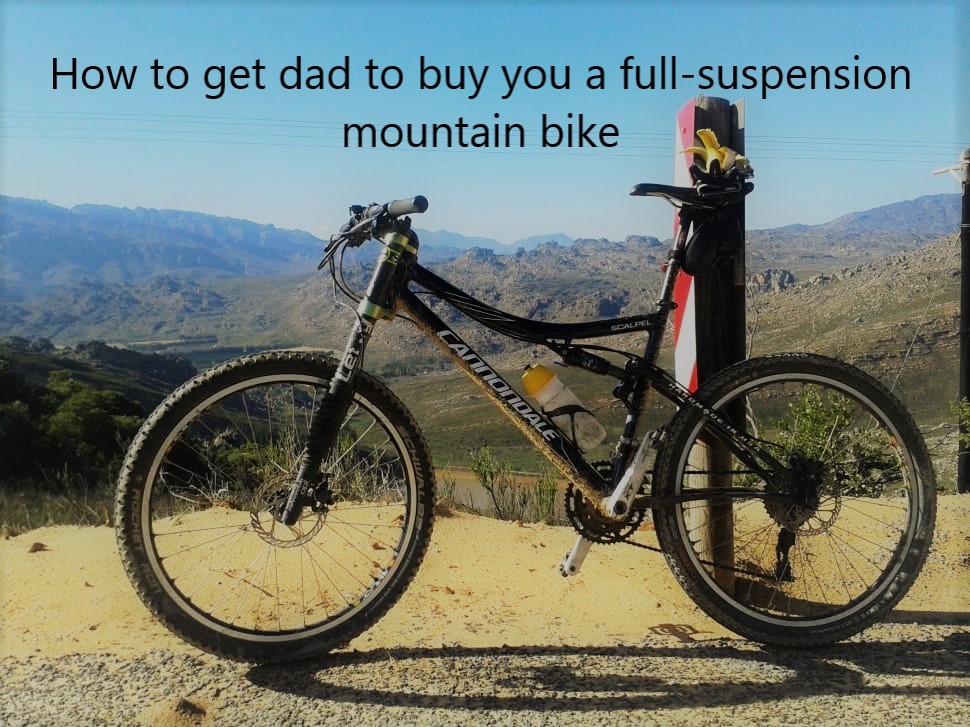
8 Secrets About Mountain Bike Skills and Etiquette
January 8, 2024
231 Views
0
SaveSavedRemoved 0
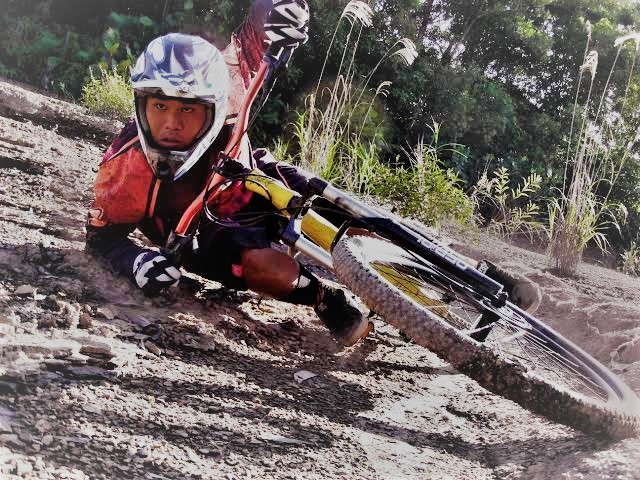
Table of Contents
Are you ready to enjoy your mountain bike and test the level best at balancing, jumping, and riding your bike on the super rock terrain trail? Building up skills in mountain biking is full of fun. It also helps to strengthen confidence, inspiring yourselves, and allowing you to test your potential in the excellent trail ride. Is it truly easy to develop mountain bike skills? Maybe or maybe not. Typically, skills define our ability to do something in an excellent way to get the desired result. On the other hand, you also need to learn about etiquette in mountain biking. It is worthless to win the race if you are branded as a troublemaker. Thus, learning proper etiquette is as important as practicing skills to win the race.
Generally, mountain bike skills and etiquette are nothing but mastering yourself through some training in fundamental to advanced techniques. And I am here today to share your good practices in mountain bike skills and etiquette for both novices and professionals. There are 8 secrets about mountain bike skills and etiquette you should learn before challenging a trail ride. Thus, it’s time for you to start practicing and improving your essential MTB skills from now. More importantly, don’t forget to learn and appreciate 8 essential etiquette because you need to win other people’s hearts as well.
There is no surprise that the biggest key to successful MTB riding is to maintain body position while riding. There are 2 primary body positions for a beginner level: neutral and ready stance. When you are riding on non-technical sections of the trail path, typically, you are likely to be in a neutral position. This position keeps you rolling forward with efficiency and also allows you to make a smooth transition to a ready position if necessary. Likewise, when the trail path becomes steeper or rockier, it’s time to maneuver or move your body into the ready position, sometimes it is known as an attack position. This position will prepare you both mentally and physically to attend the next technical trial sections. Both neutral and ready positions include:
Correctly positioning your seat helps you get the correct body position for both climbing and descending. For climbing, place your seating with maximum paddling efficiency. To do so, you will use your foot bottom for pedaling stroke, and you should slightly bend your legs to get the full leg extension in this position. This stance assists you in pedaling powerfully and efficiently using major leg muscles. On the other hand, when you perform a descending ride, lower your seat about 2-3″ high. The lowering seat means that it will reduce your central body gravity, and you can get better control and confidence through steep descents.
Some beginner cyclists make a mistake by concentrating only on the destination they want to go to rather than focusing on how they should go. The solution to this problem is always to stay on a trail path until the ride is over. To do so, move your eyes on the rear wheels while in a trail line and continue to do this while adjusting balance in a trail line. Moving eyes will also help you to gather some necessary information about trails.
Braking must always be consistent and controlled. As most of the braking power comes from your front brake, you should be fully alert while handling brakes. The excessive squeezing of the front brake can easily throw you over the hand bars. Instead of that, you should gently apply force on the brakes and continue riding until the bike completely stops. Remember not to do a sudden squeeze of your breaks, which usually results in bike skidding and, eventually, crashing. Another tip is, while braking, brace yourself by moving your hips back and dropping your heels down so that you can keep a small bend in your knees and elbows. This body position helps you to balance and control the bike.
Since mastering mountain bike skills also involved in the uphill and downhill rides; therefore, it is advisable to learn how to shift the gears properly. Because proper gear shifting not only saves you from possible injuries but also enables you to pedal more efficiently. Beginner cyclists may practice gear-shifting techniques as frequently as possible. Additionally, you may try to practice the new gear-shifting technique, which is quite advanced and slightly tricky. It means to shift the gear early before you have to or before entering a steep terrain. This technique allows you to keep a steady riding cadence and prevents awkward cycling.
A nollie is frequently referred to as a mountain bike skill training through a drop technique. It is the alternative way of bunny hop technique. Unlike a bunny hop technique that uses the rear wheel to jump, the Nollie technique employs a front wheel for jumping. It doesn’t matter whether you are dropping from a sidewalk or getting into a more profound drop. The nollie technique ensures that you will land on the ground safely after jumping. As the nollie technique must be performed at high speed, you should shift your full weight into the front wheel. To do so, bend your knees and slightly lift your rear wheel and, once you get to a dropping stance, lift the front wheel slightly with your body and step safely. To perform the nollie technique, you don’t need any mountain bike skills course. Just do self-practicing a couple of times, and you will get through it in no time.
The endo turn technique is a great way to maneuver a tight turn. If you face any tight squeeze on your trials, you can perform an endo-turn technique, and this technique doesn’t require lots of space for practicing. It mainly involves a sudden break and maintains a quick balance on the rear wheel before making a sharp turn to continue on the next subsequent path. The critical point is to maintain stability when making a quick turn. If you can perform a Stoppie technique, the endo-turn technique will be much easier to master. Like a Stoppie technique, pull the front brake and shift your weight forward by lifting the rear wheel. When your rear wheel lifts from the ground, move your hips in the expected direction, and you complete the endo-turn. Please note that the rear wheel is likely to move while it is in the air freely. Additionally, you need to practice more on turning the rear wheels on both sides because this technique is essential for turnaround.
Mastering the Stoppie technique is critical to improving your mountain biking skills. It allows you to perform a quick stop while still having full control of the bike. More often, a sudden halt can throw many novice cyclists over the handlebars in a harmful way. Therefore, this technique should be practiced here to minimize injuries from a sudden stop. To do so, at medium to high speed, squeeze the front brake lever, move your weight forward, and keep your arms straight. Your rear wheel can automatically take off the ground. Then, try to maintain center body gravity at the rear wheel. This technique can be performed on any terrain. To keep the balance, you may squeeze the front brakes slightly so that it can help your bike to roll forward.
In mountain bike skills, the jumping technique is comprised of 3 parts: takeoff, into the air, and landing.
Takeoff:
The key to the takeoff technique is pumping up your force. It means that you put your weight on the bike by pressing your feet. You would do it before reaching the slope. Then, you accelerate your bike’s speed and jump. During takeoff, try to compress the hip as much as possible and keep your chest up during the jump. Then your spring-up session starts. When the front wheel lifts from the ground, you will extend your legs and stand up fast. In the meantime, your rear wheel hits the edge of the jump, and your bike flies into the air. Here timing is the main key point. As you perform the takeoff, the bike will preload with energy, and it will bounce with some force. If you spring up too early, you are likely to lose your preload energy and power. Therefore, it is advisable to extend your leg after performing the takeoff so that the wheel will start to push off automatically.
Into the Air:
In this stage, try to stay calm and take a deep breath to relax. If your mind is relaxing, your bike will maintain its balance. Finally, your landing procedure will be shorter and smoother. Don’t forget to look ahead into the air to find your line, angle, and slope to landing. You can also be able to position the landing point if you want to.
The Landing:
To perform a successful landing, you must match your tires to the slope. As you come back down, your tires are also going to hit the ground first. So, you may lose control if you hit the ground too hard. Therefore, in a simple steep landing, drop the bars and scoop the rear wheel up. Secondly, when you are maneuvering the bike, try to extend your legs and arms to stretch out your body while landing fully. The stretching body will work as a shock-absorbent to suck up the extra impact energy. The third point is always to aim in the direction you want to go and move your front wheel in that direction. Despite a little rough on your landing, if your front wheel aims straight, the remaining of your bike will work just fine.
Once you have mastered the jumping technique, you may move to practice a standard bunny hop technique. This technique typically involves jumping off the ground with the bike. To get over logs and small obstacles, you need to master this essential mountain bike skill. You should practice this technique as frequently as you can on any terrain. A bunny hop technique usually involves lifting the bike off the bottom level or ground level with the rear wheel. When applying this technique, lean away from the front wheel and compress your body. You should perform like a manual and bend the knees into the air. Use both knees to jump off and lift the handlebars while doing the bunny hop. In the air, level out the bike and land safely with the rear wheel so that you can continue further riding.
Among cyclists, mountain biking is the greatest sport in the world. It is also a friendly sport that requires a certain level of proper mountain bike etiquette. So, if you see another cyclist, just say hi.
A gesture such as this may seem to frequently go unnoticed, but it makes the whole experience more enjoyable for everyone. Even if your enthusiastic greeting doesn’t get acknowledged, just continue to greet everyone.
Now some cyclists enjoy wearing headphones during their adventures. These bikers are trying to increase their skill level by relying on the feel of the ride instead of the sounds. Should you refrain from being kind to that cyclist by not extending any greeting to them? No! A friendly wave is then appropriate
Take into consideration that not all trail users are cyclists. The proper mountain bike etiquette is to yield to hikers and horse riders. When encountering horse riders, slow down and let them know you’re passing them when it’s safe to do so. On an occasion when they are approaching you, pull over to the side of the trail and let them pass as horses can become nervous.
Cyclists come in all kinds of shapes and sizes. All of which have their own pace and ride at different speeds. For slow cyclists, give them a quick acknowledgment you are passing them and to what side. Never ride aggressively or follow too closely to the slower cyclist’s rear tire.
If you are aware that a particular trail deteriorates in wet conditions, then avoid riding on it. It’s best to dodge puddles and not to cut corners when the grounds are soggy and saturated. The proper mountain bike etiquette on such trails is to ride over an existing trail to maintain a consistent speed. Look for sections of the trail that are packed tightest in wet conditions to prevent further deterioration in wet conditions.
Respect any trail closure notices. Many trails are located in working forests where heavy-duty equipment and dangerous machinery are being operated. Don’t ride on foot trails as cyclists and horse riders have no right to be on them without being permitted by the landowner.
Another mountain bike etiquette includes not building ramps or slopes without consent from the builder. Consult fellow cyclists, maps, and local mountain bike shops when unsure of whether or not a trail is illegal to ride.
Also referred to as “skidding”, cutting areas of the trail is frowned upon by other cyclists. Doing so is disrespectful and unfair to the trail builder. Riding in such a reckless manner is also bad for the environment. It may be more fun to watch dirt and dust fly around you as you make a new line, but it causes unnecessary deterioration to the trail.
Have you ever stopped to wonder how your favorite trail was designed and maintained? During an exhilarating ride have you ever asked yourself who is responsible for allowing you to experience such unadulterated amusement? If you haven’t, it would be a good idea to gain a better familiarity with the trail systems you ride most.
The sport of mountain biking is a tight-knit community that thrives on supporting and helping one another. By following the crucial rules of mountain bike etiquette, you make the jobs of professionals who care for the trails easier. It also advocates for not only your enjoyment and happiness but for all the other cyclists on the trail too.
There are charitable ways to contribute to the trail systems that you frequent. The funds to design and construct trails have to come from somewhere. Money is also needed to maintain the trails. If you contribute nothing else, pay for your parking. Consider making financial donations you can afford to the trial system when the opportunity presents itself.
Ask the builder of the trail system if any improvements are being planned and if volunteers will be needed. How much more would you enjoy each ride knowing you were one of the people that made it possible?
There will always be that one individual who revels in spoiling the fun for everybody. Don’t be that person. Ride down trails that are meant to go down and trails that are meant to go up. Always yield to climbers because it is easier for the cyclist descending to regain momentum than the climber.
Don’t, under any circumstance, litter on the trail. If you see a piece of rubbish, it is mountain bike etiquette to pick it up. When limbs, twigs, or other debris are obstructing the trail, pull over to the side and remove them.
A great way to alienate and anger your fellow cyclists is to loiter in the middle of the trail. Refrain from chatting with your friends in the path of cyclists. Socializing with other cyclists is encouraged, but make sure you pull over off the trail before doing so.
In the event you suffer a flat tire or other problem, don’t attempt to repair it until you are safely moved off of the trail. If you notice another cyclist having mechanical issues, stop to offer assistance. You never know when you will be in the same position in need of help to get back on the trail.
Listen to fellow cyclists and consult them about areas of the trail that are private property. I met with a confrontation about riding on the land in which you aren’t welcome, just leave. Interactions with angry landowners aren’t ideal.
Pay attention to signs alerting you not to go in. Consult available maps to gain awareness of the trails that are public right away. When visiting mountain bike shops in the area, ask if they know of popular areas of the trail system that are private property. Such precautions will prevent unnecessary conflict.
8 Secret Mountain Bike Skills
The beginner level
The necessary abilities most cyclists should master are learning how to ride safely on the trail path, cycling competently, and maintaining overall balance on the bike. These techniques not only help you to crash less and pedal longer but also create an enjoyable riding experience. Armed with these core pillars of the MTB techniques, you will proceed to a more advanced level in no time.1MAINTAIN BODY POSITION
There is no surprise that the biggest key to successful MTB riding is to maintain body position while riding. There are 2 primary body positions for a beginner level: neutral and ready stance. When you are riding on non-technical sections of the trail path, typically, you are likely to be in a neutral position. This position keeps you rolling forward with efficiency and also allows you to make a smooth transition to a ready position if necessary. Likewise, when the trail path becomes steeper or rockier, it’s time to maneuver or move your body into the ready position, sometimes it is known as an attack position. This position will prepare you both mentally and physically to attend the next technical trial sections. Both neutral and ready positions include:
- A slight bend of knees and elbows.
- Level pedals are evenly weighted.
- Both index fingers must be on the brake lever.
- Keep your eye looking forward always.
- Adjusting the seating position and picking up a line